OLED Display Card
Introduction
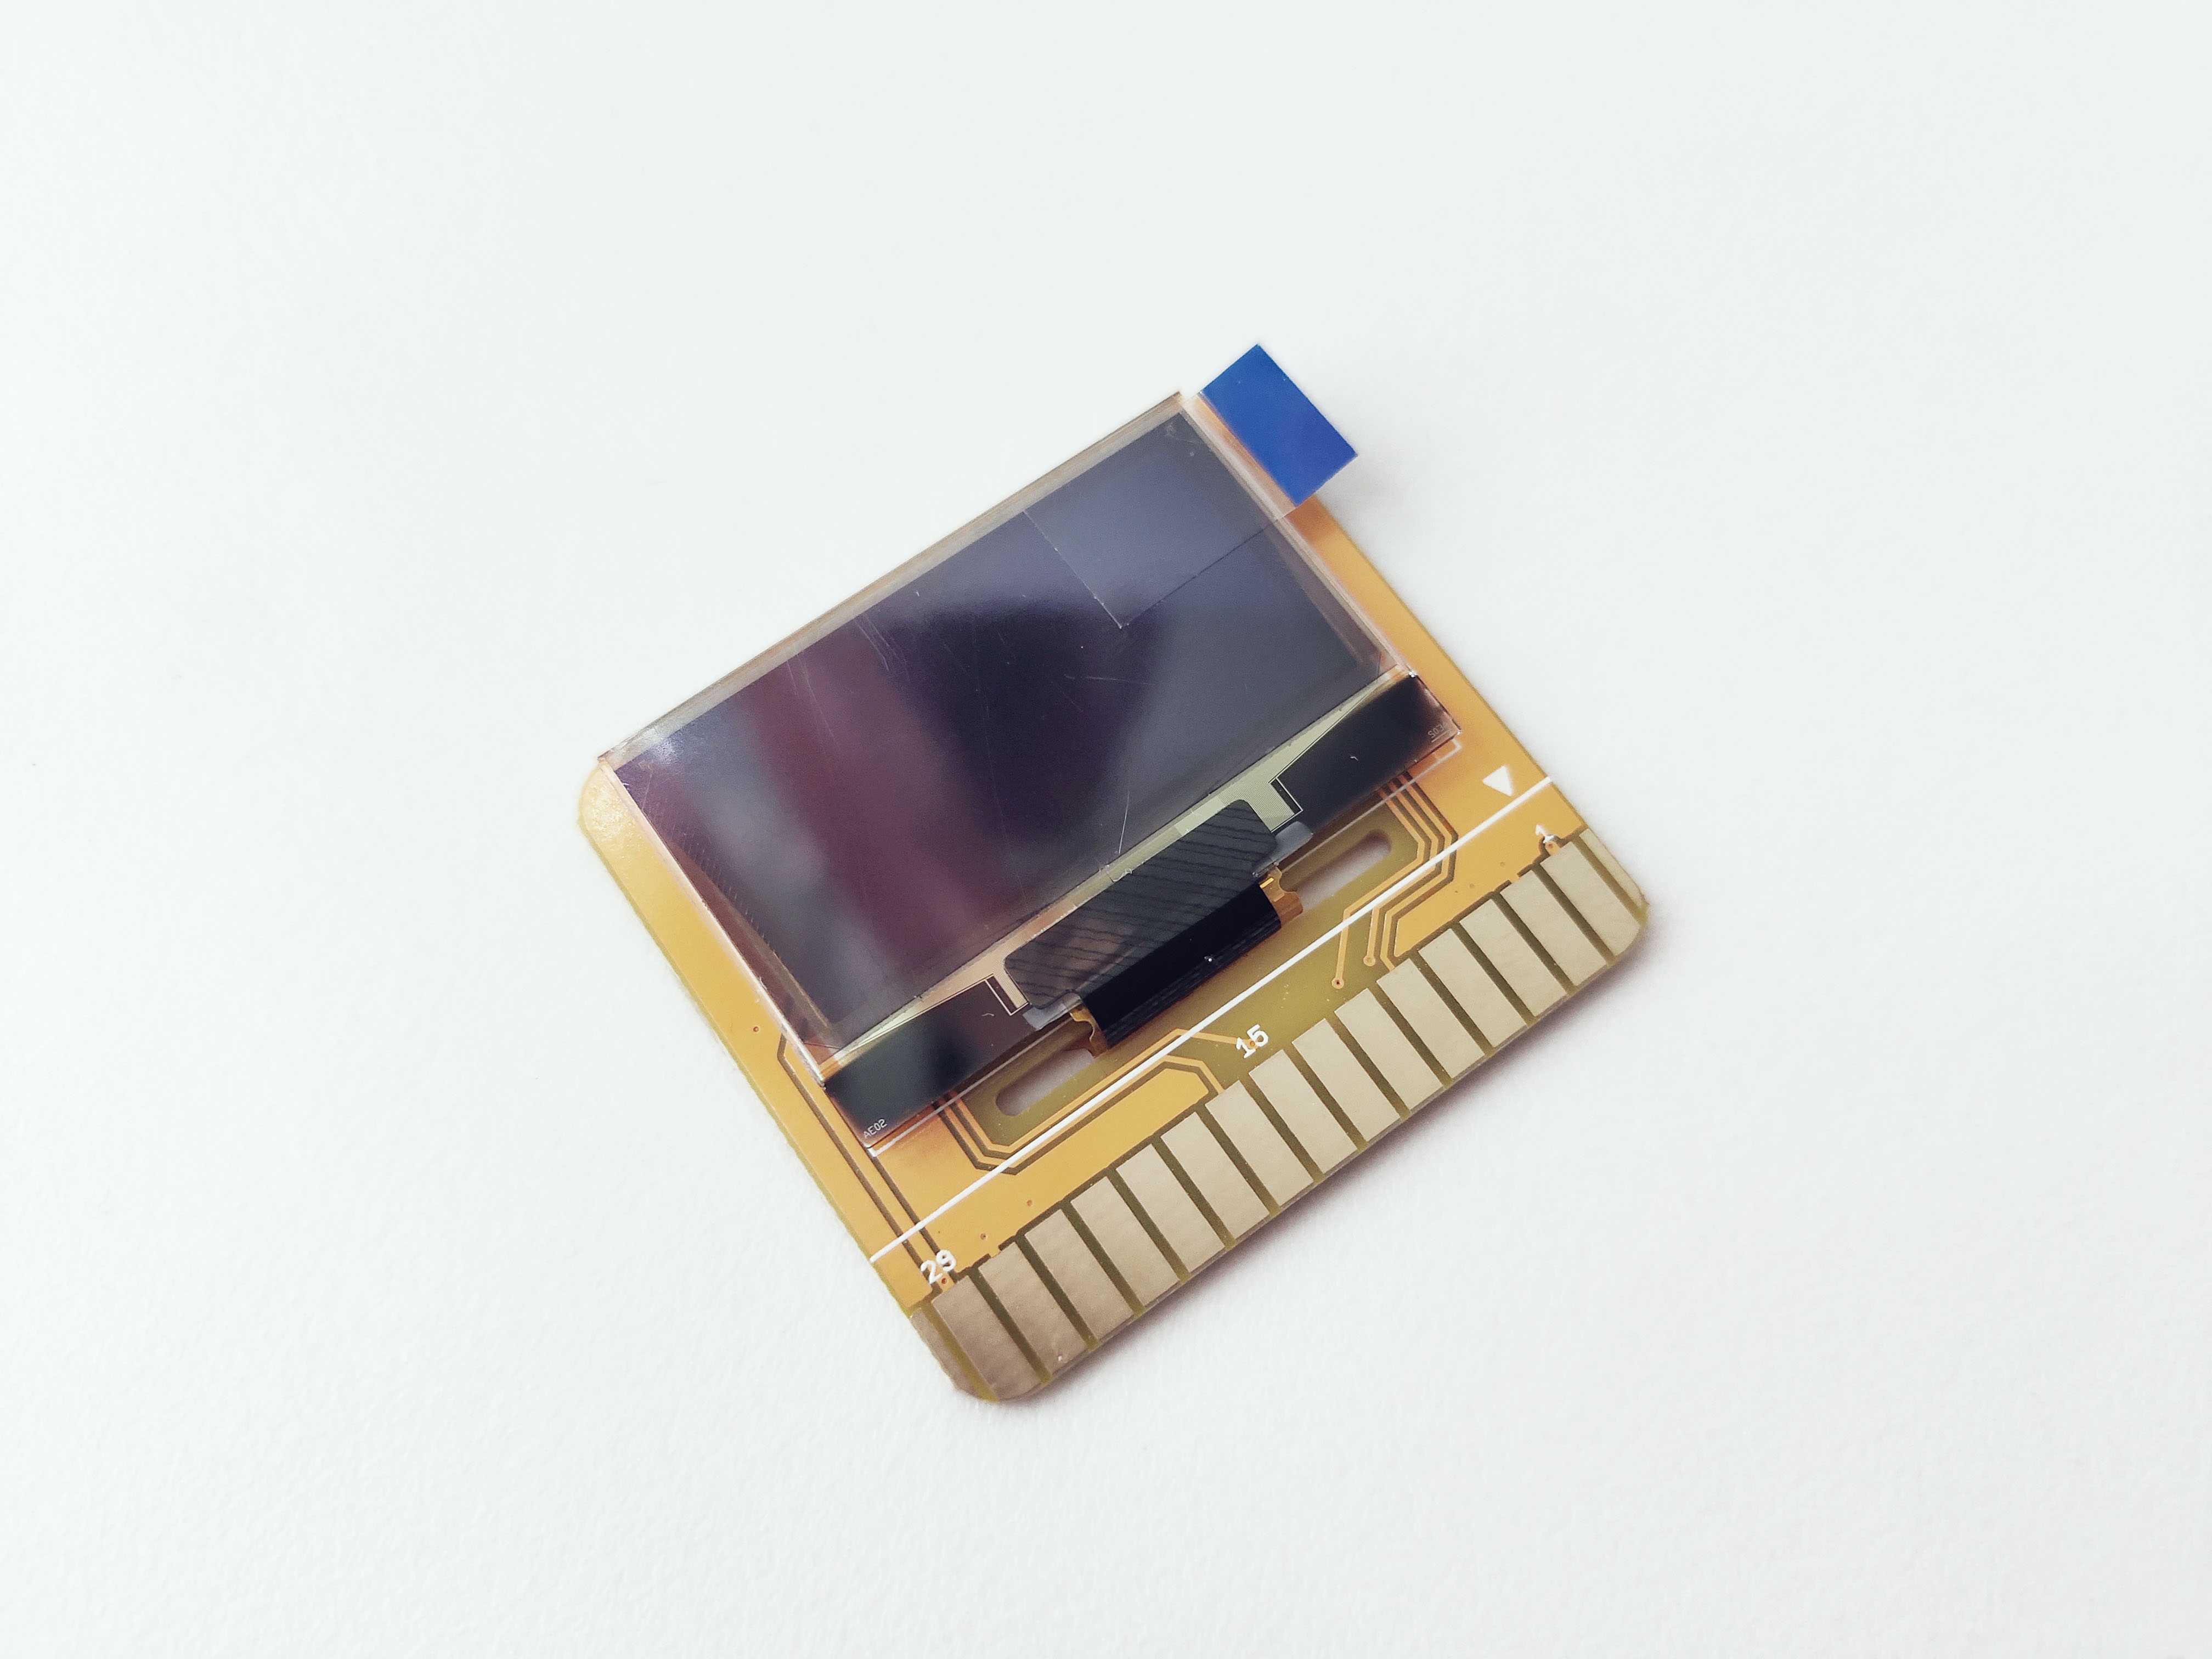
The OLED Display card features UG-2864KSWLG01 folding type OELD module which provides 128x64 monochrome pixels. The OLED card uses SPI protocol to communicate with the Carduinol.
Specifications
- Voltage: 5V
- 128x64 monochrome pixels
- Supports SPI interface
- Diagonal Screen Size:1.30"
- Number of Pixels:128 × 64
- Color Depth:Monochrome (White)
Pins
The edge connector (gold fingers) has total of 30 contacts (each side has 15 contacts).
On the front side of the OLED Display card, a white arrow is printed near the edge connector indicates the pin #1. You can find some pin numbers printed on the edge connector itself (1, 15, and 29). You can count the pin numbers starting with 1 and count by twos from right to left would be 1, 3, 7, 9, 11, 15, 17, 19, 21, 23, 27, and 29. Notice that all the counts are odd numbers.
On the back side of the OLED Display card, you also can find some pin numbers printed on the edge connector itself (2, 16, and 30). You can count the pin numbers starting with 2 and count by twos from left to right would be 2, 4, 6, 8, 10, 12, 14, 16, 18, 20, 22, 24, 26, 28 and 30. Notice that all the counts are even numbers.
SPI
Following pins can be used for SPI communication.
- MOSI: (Back: pin #16)
- SCK: (Front: pin #17)
- CS_OLED (Front: pin #9)
- DC_OLED (Back: pin #12)
- RST_OLED (Back: pin #10)
Power
Following pins connect with the common power bus of the board.
- VCC: Power supply (Front: pin #1, #29 / Back: pin #2, #30)
- GND: To be connected to the system ground (Front: pin #3, #27 / Back: pin #4, #28)
How to Use
The OLED Display card can be plugged into an edge connector slot of one of the following Longan boards.
- Game board
- Car board
- Sensor board
- Extension board
- Pi Hap
When you plug, the white arrow head printed on the card should be pointing toward the white arrow head printed near the edge connector slot of the board. Once plugged, it can communicate with the Carduino through the I2C bus line of the board. It will also connect to the common power bus of the board.
Getting Ready
We will be using the Extension board to demonstrate how to use the OLED Display card with the Carduino.
-
First take the Extension board.
-
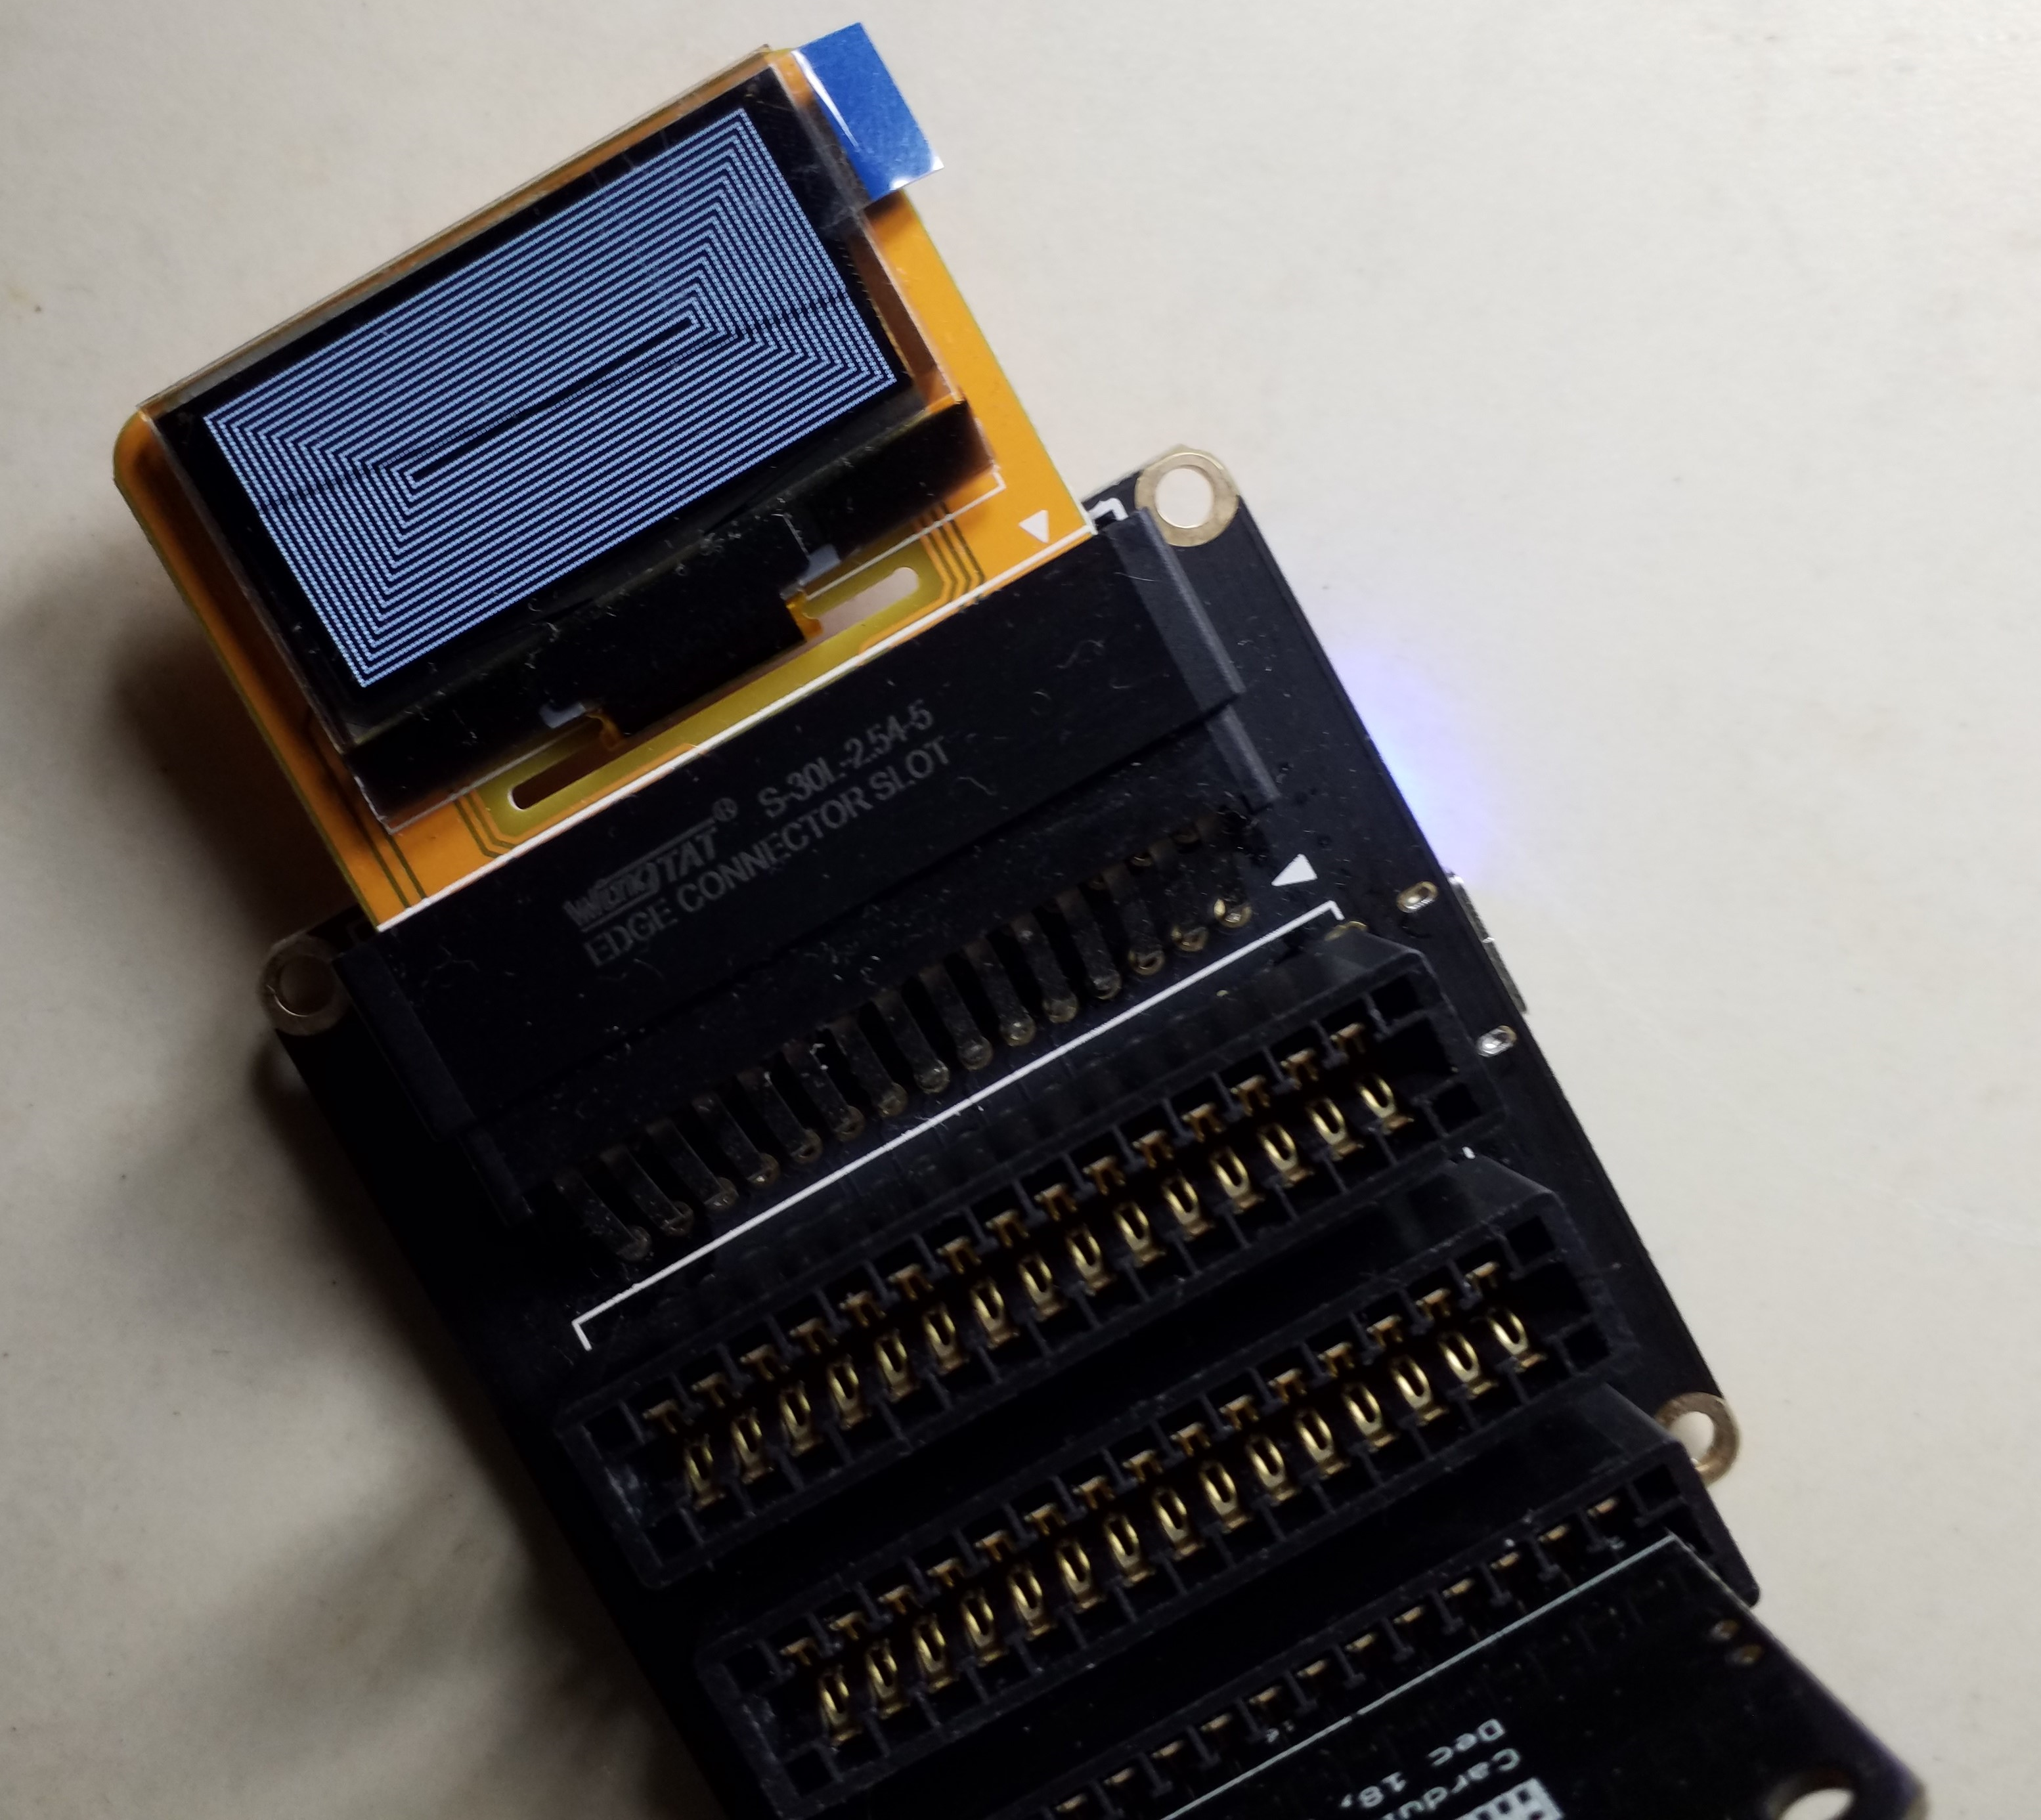
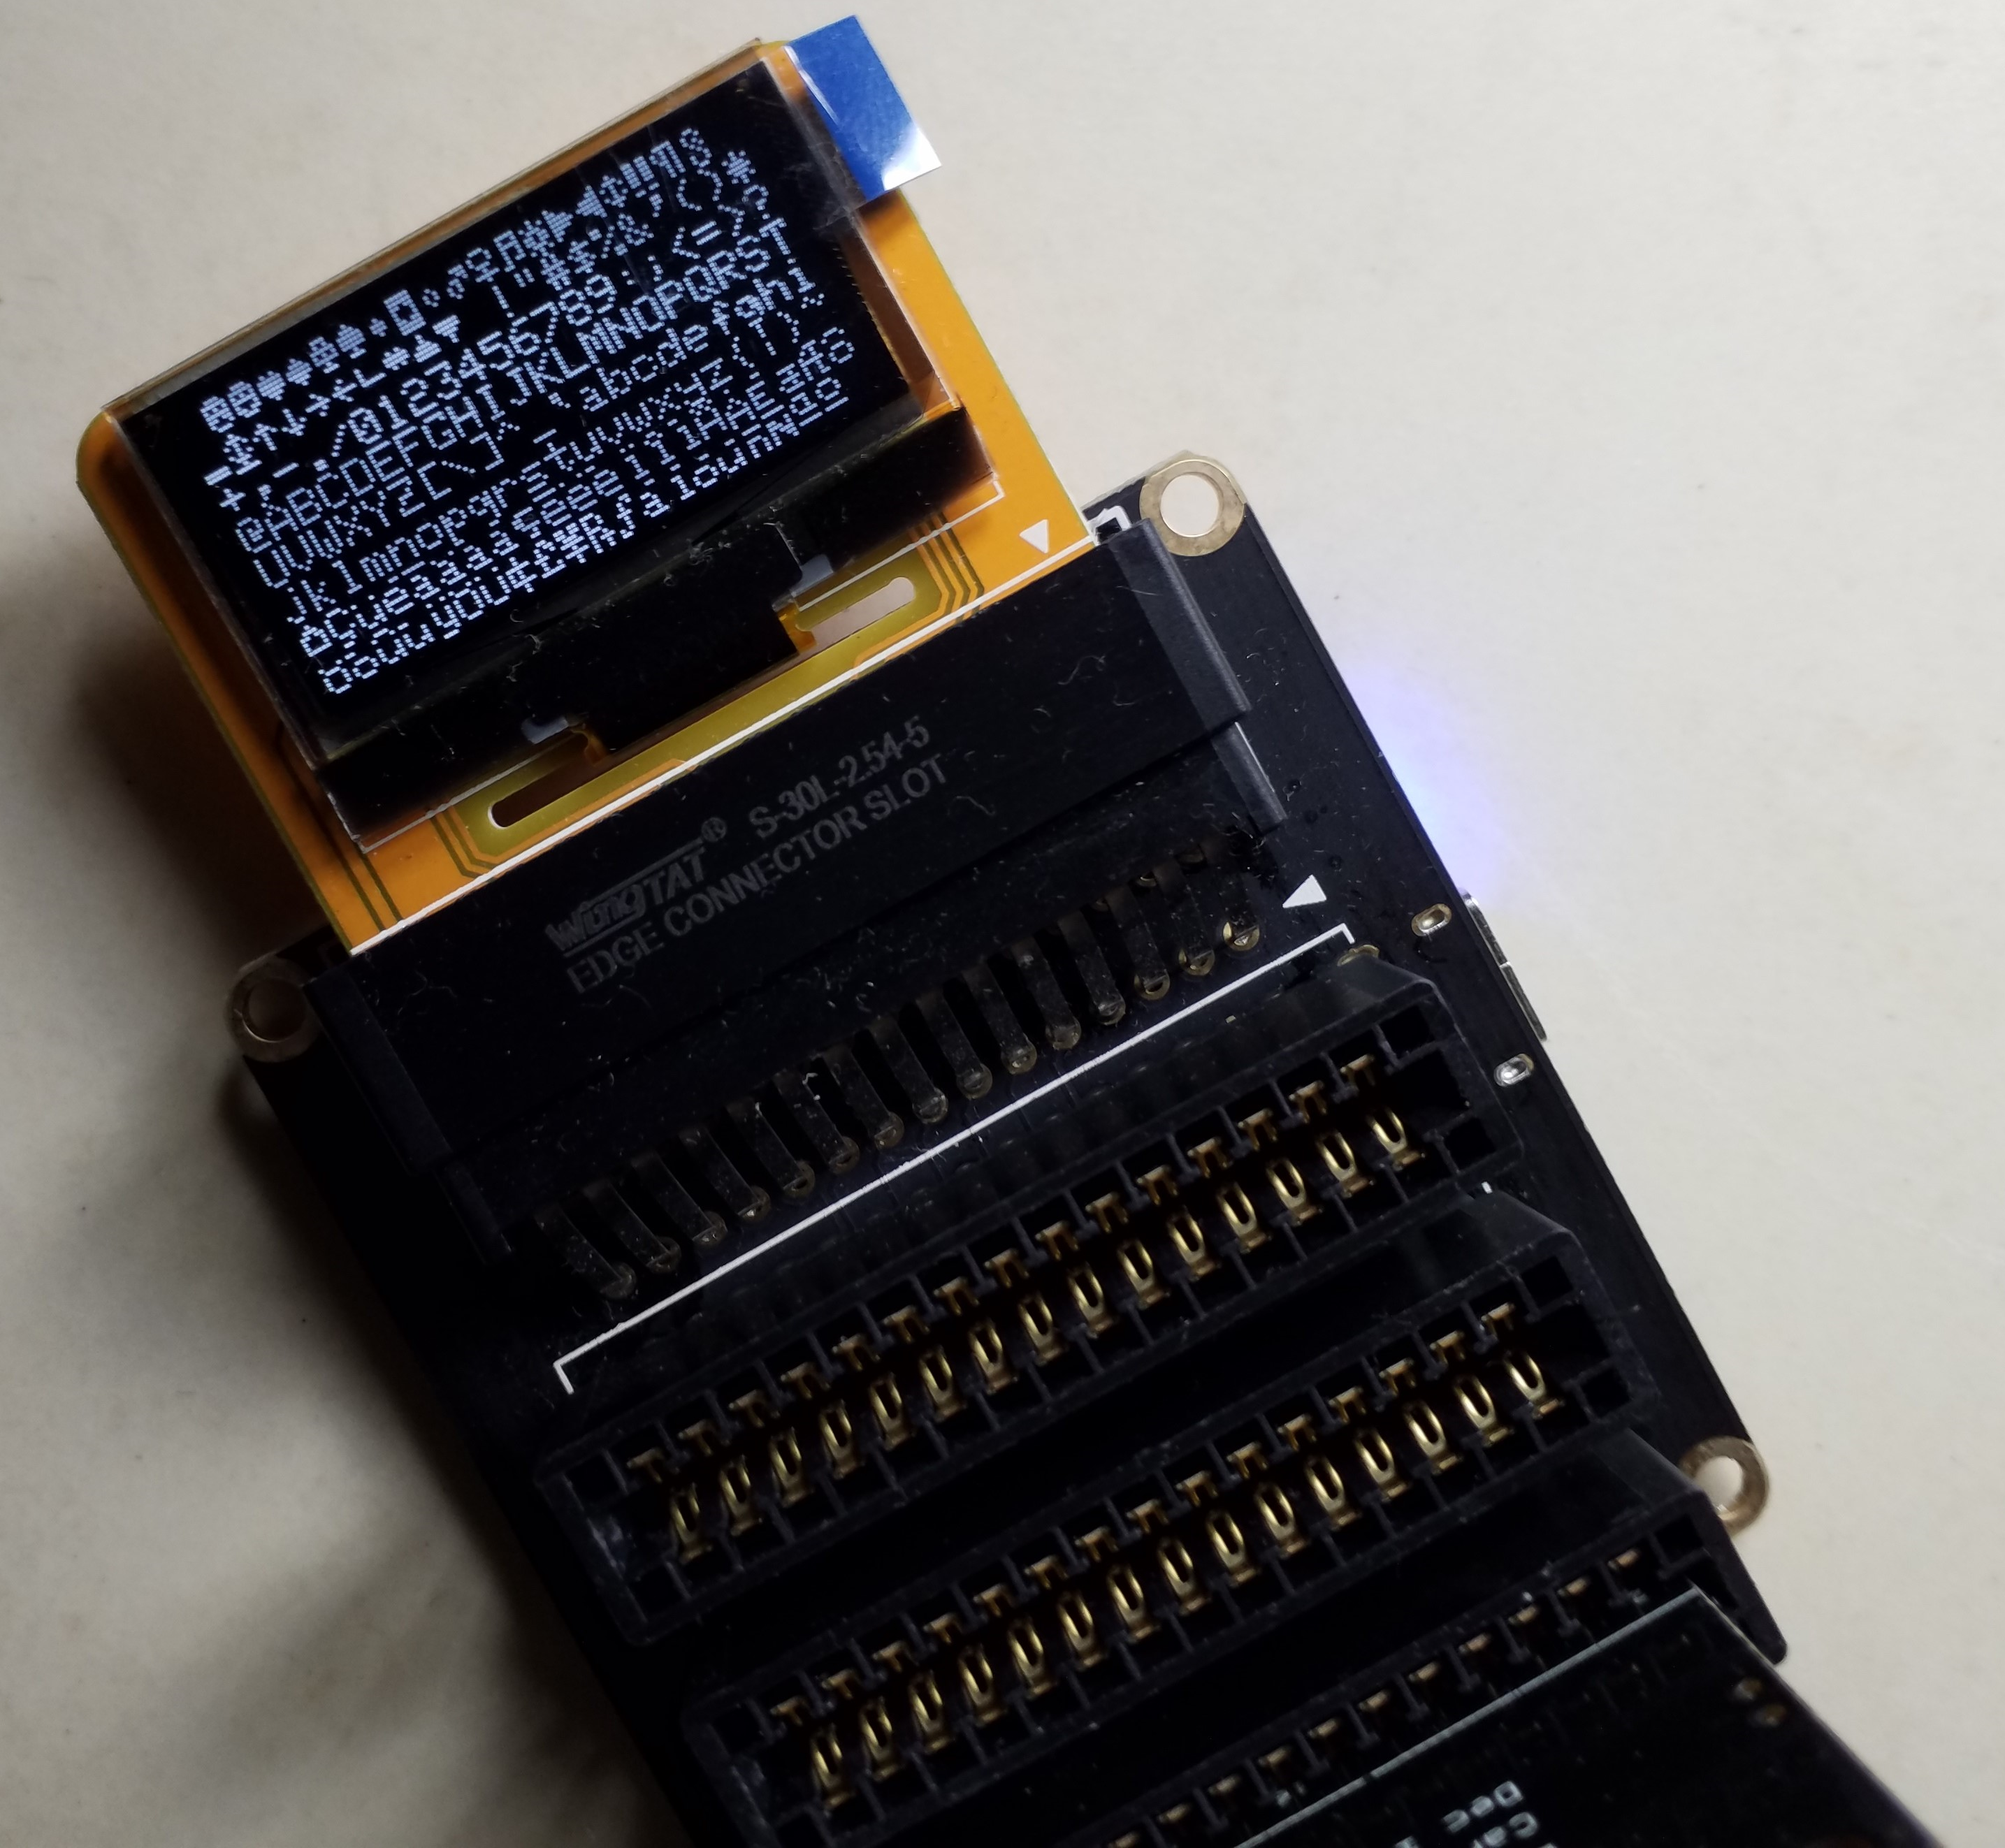
Next, plug the OLED Display card in to one of the edge connector slot.
-
Then plug the Carduino in to another edge connector slot.
-
Finally, connect the Extension board with your computer using a Type-C USB cable (you can use either USB connector on the Carduino or the Extension board).
Sample Code
The OLED Display card requires two libraries to work: Adafruit_SSD1306, which handles the low-level communication with the hardware, and Adafruit_GFX, which builds a top this to add graphics functions like lines, circles and text. You don't need to install them seperatly. They will install on your Arduino IDE during the installation of Longan AVR Boards.
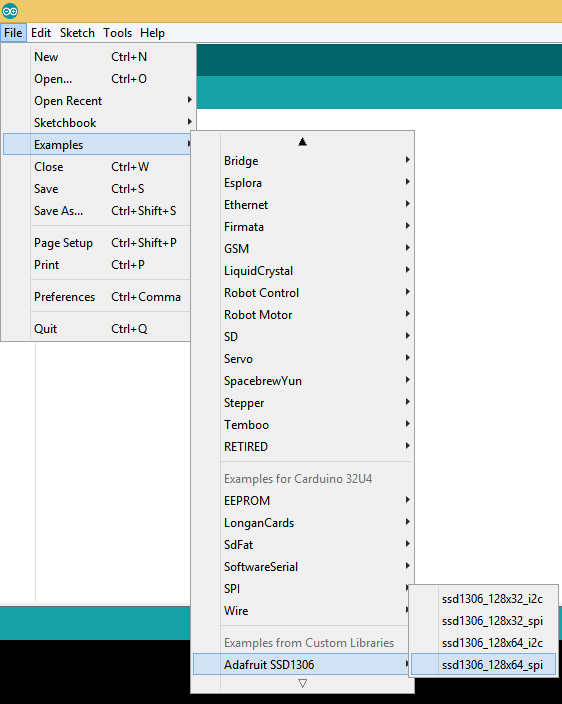
The sample code can be loaded to your Arduino IDE by clicking on File > Examples > Adafruit SSD1306 > ssd1306_128x64_spi. Make sure to load the SPI sample, not the I2C.
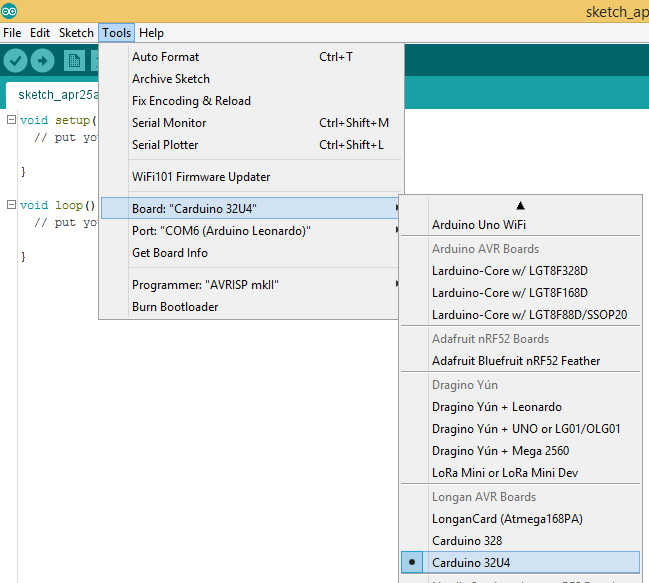
First, tell the Arduino IDE to use the Carduino. To do this, click Tools > Board > Carduino 32U4 under Longen AVR Boards.
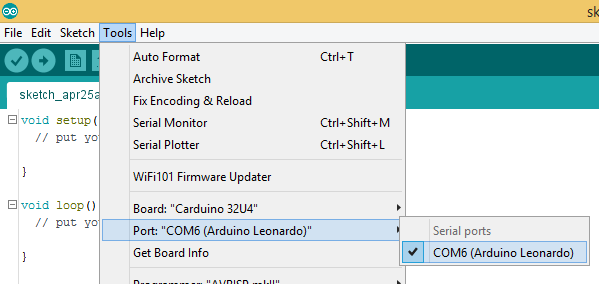
Then select the proper port in Tools > Port > (the Serial/COM port of your Carduino).
Next, upload the program by clicking Sketch > Upload.
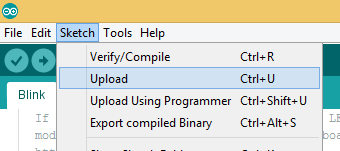
It will take some time to compile and upload the sketch into the Carduino.
Once uploaded, first the OLED Display card will display the 'LONGAN CARDS' logo (a bitmap) followed by some interesting graphic objects such as pixels, lines, circles, triangles, text, animating bitmaps etc.
Resources
- Eagle files: https://github.com/Longan-Labs/EagleFile_Cards/tree/master/1014001_OLED_Display_Card
- Adafruit SSD1306 library: https://github.com/adafruit/Adafruit_SSD1306
- Adafurit_GFX library: https://github.com/adafruit/Adafruit-GFX-Library